Getting Started
By the end of this page you will have a running PikoCI server with a pipeline that triggers automatically. The whole setup takes under 2 minutes.
Quickstart with Docker Compose
The examples/ folder contains ready-to-run pipelines. The fastest way to try PikoCI:
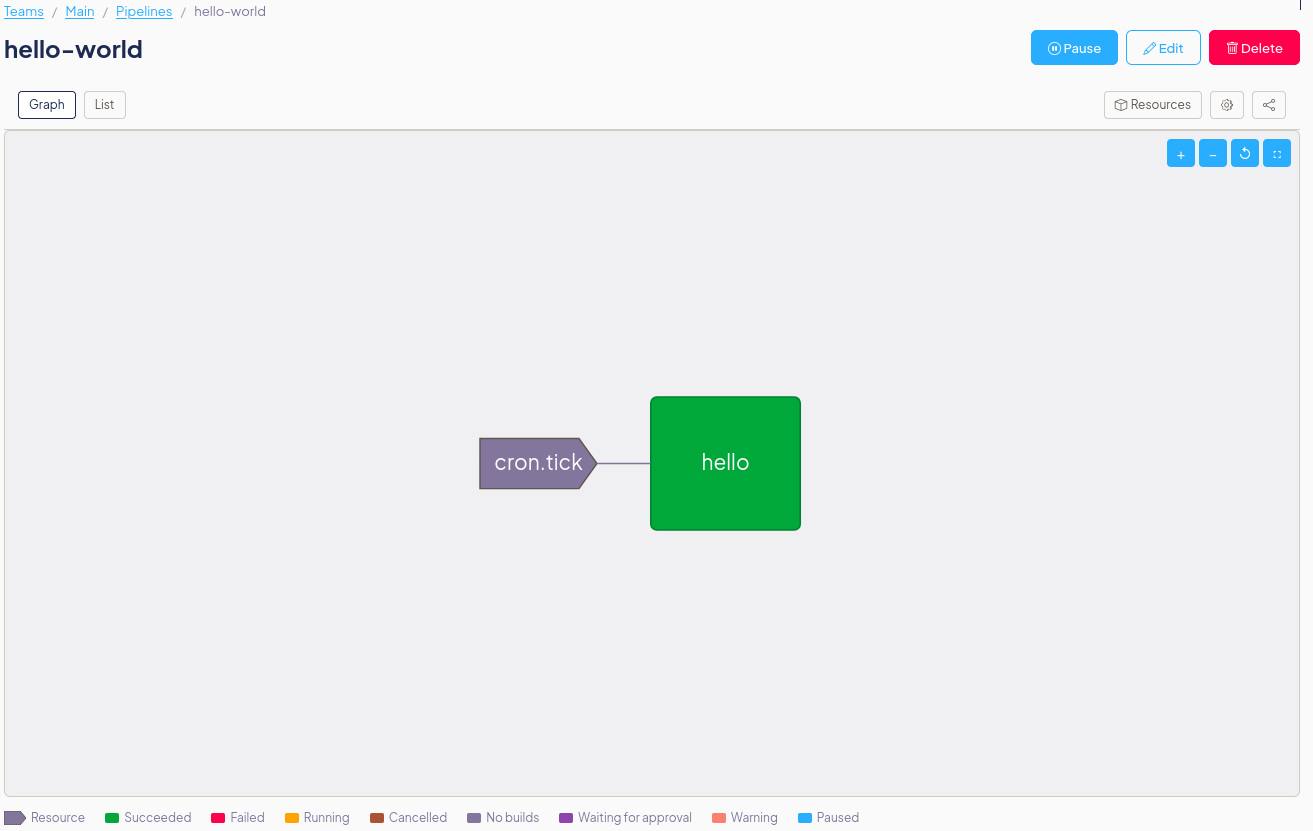
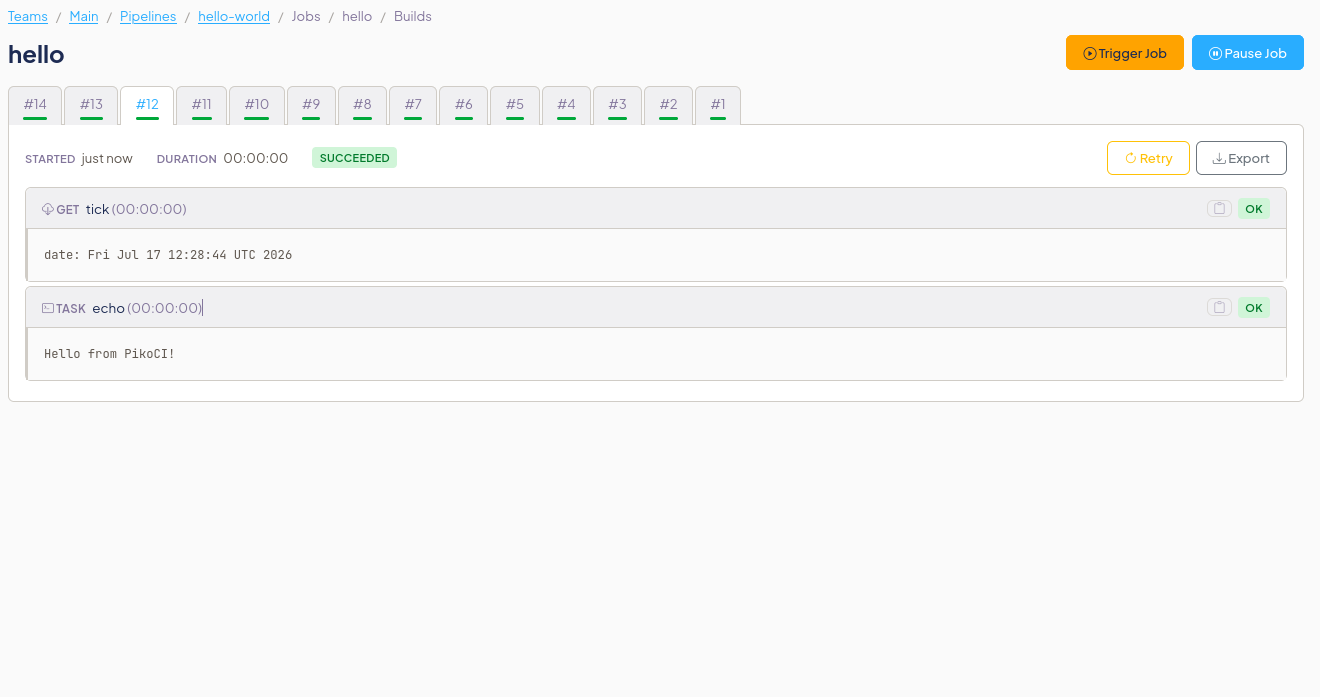
Open http://localhost:8080 and log in with admin / admin123. The hello-world pipeline runs automatically every 10 seconds.
Install
Download the latest release for your platform:
# Linux (amd64)
curl -L https://github.com/PikoCI/pikoci/releases/latest/download/pikoci-linux-amd64 -o pikoci
chmod +x pikoci

# macOS (amd64)
curl -L https://github.com/PikoCI/pikoci/releases/latest/download/pikoci-darwin-amd64 -o pikoci
chmod +x pikoci
Or install via package manager (Linux):
# Debian/Ubuntu
curl -LO https://github.com/PikoCI/pikoci/releases/latest/download/pikoci_VERSION_amd64.deb
sudo dpkg -i pikoci_VERSION_amd64.deb

# RHEL/Fedora
curl -LO https://github.com/PikoCI/pikoci/releases/latest/download/pikoci-VERSION.amd64.rpm
sudo rpm -i pikoci-VERSION.amd64.rpm
Or pull the Docker image:
Or build from source:
Run with a pipeline
The fastest way to start. Pass a pipeline config at launch and it's ready immediately:
./pikoci server \
  --db-system mem \
  --jwt-secret my-secret \
  --run-worker \
  --pipeline-name my-pipeline \
  --pipeline-config pipeline.hcl
Open http://localhost:8080 and log in with admin / admin123.
Example pipeline
A cron resource checks for new versions every 10 seconds. When detected, it triggers the echo job:
resource "cron" "my_cron" {
  check_interval = "@every 10s"
}

job "echo" {
  get "cron" "my_cron" {
    trigger = true
  }
  task "echo" {
    run "exec" {
      path = "echo"
      args = ["hello from PikoCI"]
    }
  }
}
Save as pipeline.hcl and start the server with the command above.
Add users
The default user is admin / admin123 (created by the initial database migration). Use --users to add new users or change existing passwords:
# Generate a hashed password
./pikoci user-password -u myuser -p mypassword
# Output: myuser:$2a$10$...

# Pass it to the server (also works to update the default admin password)
./pikoci server --jwt-secret my-secret --users 'myuser:$2a$10$...'
Edit pipelines locally
You can use the browser-based editor to develop pipelines without running a server:
This opens the full editor UI with syntax highlighting, live graph preview, and block navigation. Changes are saved back to disk. See CLI Reference for details.
Next steps
- Pipeline Reference - Full HCL syntax
- Server Configuration - All server flags
- CLI Reference - Manage pipelines from the command line